
Keep up to date on current trends and technologies
Blog

How Software Engineers Can Take Advantage of Gen AI Tools
Mohit Menghnani

Best Crypto Wallet: Your Guide to Choosing the Right One
SitePoint Sponsors

Stop Duct-Taping AI Agents Together: Meet SmythOS
Alexander De Ridder
Best AI Overviews Tracking Tools: Dominate Google's AI-Driven Search Results
SitePoint Sponsors

Why You Should Test Your Page Without JavaScript
Ilknur Eren
Best LLM Visibility Trackers for 2025: Track Your Brand in AI Search
SitePoint Sponsors
AI-Powered UX/UI Design: A Breakthrough in Modern App Design
Atanu Sarkar
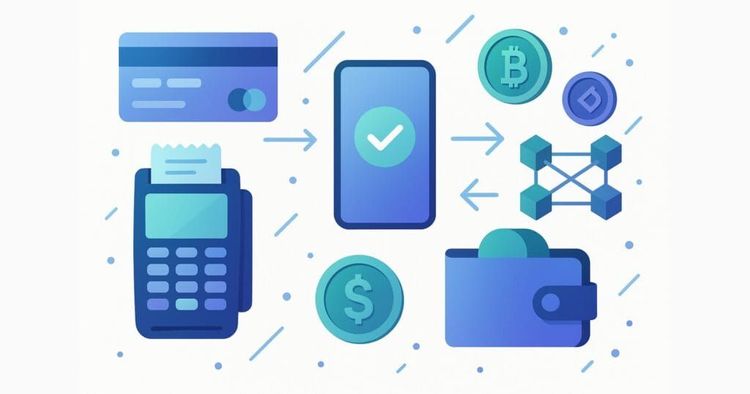
Best Payment Gateway in Australia: Your Guide
SitePoint Sponsors

Diagnosing and Fixing a Page Fault Performance Issue with Arm64 Atomics
Dave Neary
How Developers Can Use Tracing in the UI to Add Backend-style Observability
Mohit Menghnani

What is Generative Engine Optimization (GEO)?
SitePoint Sponsors

Redux without React — State Management in Vanilla JavaScript
Moritz Kröger
Why It Took Us Seven Years to Find Product Market Fit
Tom Norwood

How to Engineer for Explainability: When a Black-Box is Just not Enough
Avraam Tolmidis

Why Web Hosting & Domain Registrars Should Offer DMARC as a Service
SitePoint Sponsors
Tailwind CSS vs. Bootstrap: Which Framework Is Right for Your Next Project?
Samir Bhimbha
Behind Insurify: How One Insurance Marketplace Handles 400+ API Integrations and Real-Time Quotes at Scale
SitePoint Sponsors
Best Payment Gateway for Subscriptions & Recurring Payment: 2025
SitePoint Sponsors

Empowering Developers and Fueling AI Adoption with AmpereOne Design Innovations
Dave Neary

Top Picks for the Best CPP Compiler: Enhance Your Coding Experience
Anna Hrechka
Hardening Node.js Apps in Production: 8 Layers of Practical Security
Raju Dandigam
5 Best AI Companion Apps: From Learning Tools to "AI Girlfriends"
SitePoint Sponsors

Design Systems in 2025: Why They're the Blueprint for Consistent UX
Atanu Sarkar

Can AI Replace Web Developers: A Practical Look at Current Tools and Limitations
Harikrishna Kundariya

Don’t Choose the Wrong Web Team — Here’s Why It Matters
Jerry Zhang
Angular Signals: A New Mental Model for Reactivity, Not Just a New API
Sonu Kapoor
White-Label Payment Gateway: Your Guide to Payment Solutions
SitePoint Sponsors
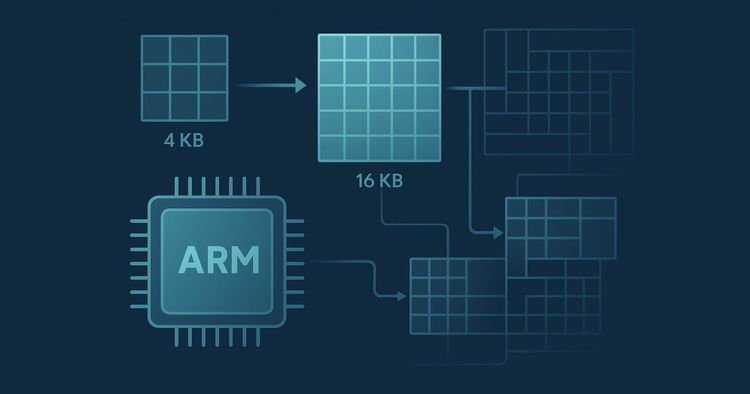
Understanding Memory Page Sizes on Arm64
Dave Neary
Gemini in Google Workspace: Your New AI-Powered Collaborator
SitePoint Sponsors

Droip Review: Why You Should Choose Droip Over Traditional WordPress Page Builders in 2025
SitePoint Sponsors
5 Best Payment Gateways for SaaS: Your Ultimate Guide
SitePoint Sponsors
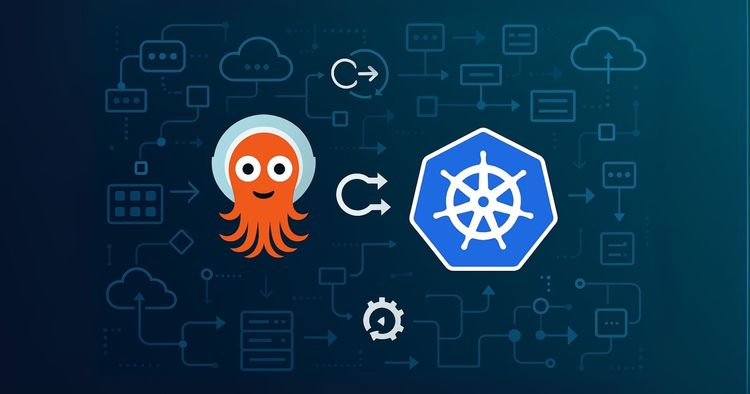
Unleashing the Power of ArgoCD by Streamlining Kubernetes Deployments
Raju Dandigam
Showing 32 of 7954