
Keep up to date on current trends and technologies
Blog

Easiest way to run LLMs locally
Zain Zaidi

Common Problems and Solutions When Building FastAPI Servers
Gennadii Turutin

How Software Engineers Can Take Advantage of Gen AI Tools
Mohit Menghnani

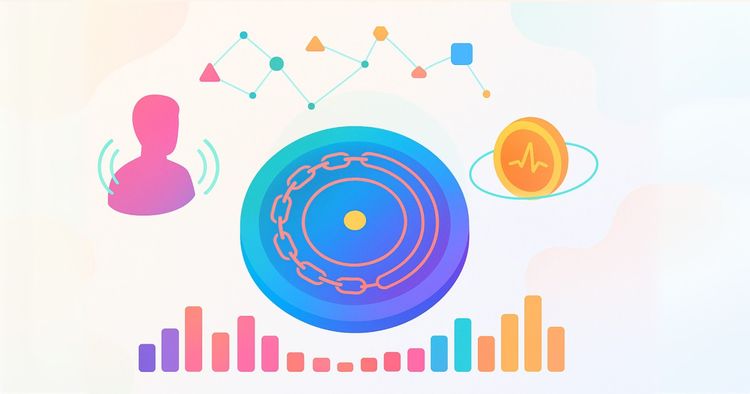
Best Crypto Wallet: Your Guide to Choosing the Right One
SitePoint Sponsors

Stop Duct-Taping AI Agents Together: Meet SmythOS
Alexander De Ridder
Best AI Overviews Tracking Tools: Dominate Google's AI-Driven Search Results
SitePoint Sponsors

Why You Should Test Your Page Without JavaScript
Ilknur Eren
Best LLM Visibility Trackers for 2025: Track Your Brand in AI Search
SitePoint Sponsors

AI-Powered UX/UI Design: A Breakthrough in Modern App Design
Atanu Sarkar

Best Payment Gateway in Australia: Your Guide
SitePoint Sponsors

Diagnosing and Fixing a Page Fault Performance Issue with Arm64 Atomics
Dave Neary

How Developers Can Use Tracing in the UI to Add Backend-style Observability
Mohit Menghnani

What is Generative Engine Optimization (GEO)?
SitePoint Sponsors

Redux without React — State Management in Vanilla JavaScript
Moritz Kröger
Why It Took Us Seven Years to Find Product Market Fit
Tom Norwood

How to Engineer for Explainability: When a Black-Box is Just not Enough
Avraam Tolmidis

Why Web Hosting & Domain Registrars Should Offer DMARC as a Service
SitePoint Sponsors
Tailwind CSS vs. Bootstrap: Which Framework Is Right for Your Next Project?
Samir Bhimbha

Behind Insurify: How One Insurance Marketplace Handles 400+ API Integrations and Real-Time Quotes at Scale
SitePoint Sponsors

Best Payment Gateway for Subscriptions & Recurring Payment: 2025
SitePoint Sponsors

Empowering Developers and Fueling AI Adoption with AmpereOne Design Innovations
Dave Neary

Top Picks for the Best CPP Compiler: Enhance Your Coding Experience
Anna Hrechka

Hardening Node.js Apps in Production: 8 Layers of Practical Security
Raju Dandigam
5 Best AI Companion Apps: From Learning Tools to "AI Girlfriends"
SitePoint Sponsors

Design Systems in 2025: Why They're the Blueprint for Consistent UX
Atanu Sarkar

Can AI Replace Web Developers: A Practical Look at Current Tools and Limitations
Harikrishna Kundariya

Don’t Choose the Wrong Web Team — Here’s Why It Matters
Jerry Zhang

Angular Signals: A New Mental Model for Reactivity, Not Just a New API
Sonu Kapoor

White-Label Payment Gateway: Your Guide to Payment Solutions
SitePoint Sponsors
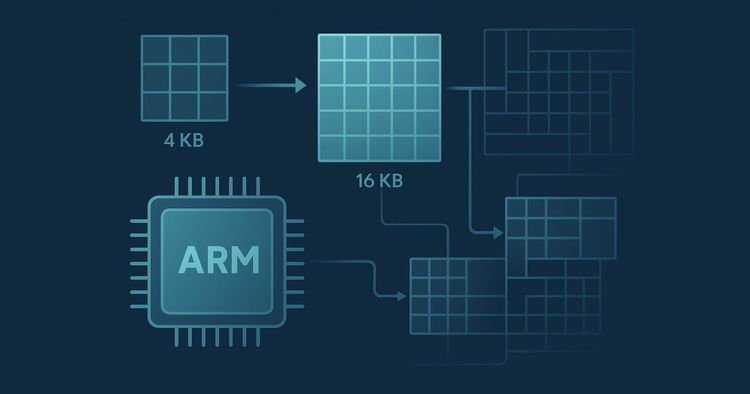
Understanding Memory Page Sizes on Arm64
Dave Neary

Gemini in Google Workspace: Your New AI-Powered Collaborator
SitePoint Sponsors

Droip Review: Why You Should Choose Droip Over Traditional WordPress Page Builders in 2025
SitePoint Sponsors
Showing 32 of 7957